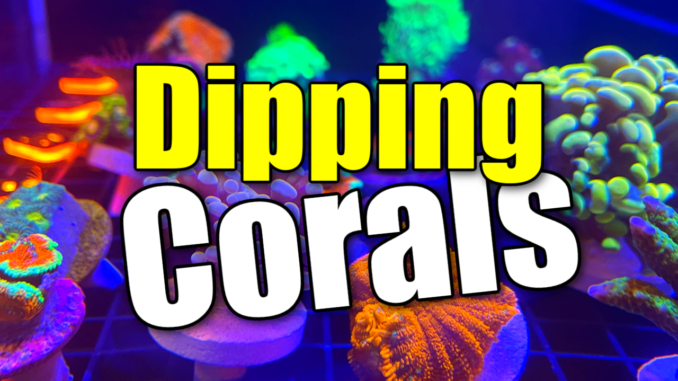
Welcome, fellow coral enthusiasts, to an in-depth exploration of a crucial aspect of coral care – dipping corals. Whether you’re a seasoned reef keeper or just stepping into the captivating world of coral keeping, understanding the nuances of coral dipping is essential for maintaining a healthy and thriving reef aquarium.
The Significance of Coral Dipping
Coral dipping isn’t just a routine task; it’s a proactive measure that plays a vital role in the quarantine process for newly acquired corals. This step is designed to eliminate potential threats like pests, parasites, and diseases that might tag along with your beautiful coral specimens. By implementing this preventative measure, you not only protect your existing coral inhabitants but also safeguard the overall health of your entire reef ecosystem.
Choosing the Right Coral Dip
Selecting an appropriate coral dip is a pivotal decision in the dipping process. There are various solutions available, ranging from iodine-based formulations to hydrogen peroxide and specialized commercial products. Each comes with its own set of advantages and considerations. It’s imperative to follow the manufacturer’s guidelines meticulously and use the recommended concentration to ensure effective treatment without harming your corals.
Coral Dips we use and recommend:
Step-by-Step Coral Dipping Guide
1. Prepare the Dip Solution
Before diving into the dipping process, carefully mix the coral dip solution according to the instructions provided. It’s crucial to maintain the solution at the correct temperature to minimize stress on the corals during the treatment.
2. Turn off Pumps and Skimmers
To prevent the dip solution from being filtered out too quickly, it’s essential to turn off water circulation devices such as pumps and protein skimmers.
3. Gently Dip the Corals
Submerge the coral fragments into the dip solution, ensuring they are fully covered. Using a soft brush, gently clean the coral surface to dislodge any potential pests or unwanted hitchhikers.
4. Agitate the Dip
Periodically agitate the dip solution to help dislodge pests and parasites without causing harm to the corals. This step enhances the effectiveness of the treatment.
5. Inspect for Pests
Take the time to meticulously inspect the corals for signs of pests, nudibranchs, flatworms, or any other unwelcome visitors. Use tweezers or a soft brush to remove any visible pests.
6. Rinse Thoroughly
After the recommended dipping duration, transfer the corals to a separate container filled with fresh saltwater for a thorough rinse. Ensure there is no residue from the dip solution before proceeding.
7. Acclimate and Quarantine
Acclimate the dipped corals to your reef tank parameters and place them in a quarantine tank for careful observation before introducing them to your main display.
Common Mistakes to Avoid
- Overdosing: Follow the recommended concentration for the dip solution to avoid harming your corals and the overall health of your reef.
- Neglecting Inspection: Rushing through the inspection process may result in overlooking hidden pests. Take your time and be thorough to ensure a pest-free environment.
- Skipping Quarantine: Even if corals appear healthy post-dipping, quarantine is crucial to monitor for any delayed signs of stress or disease.
Dipping Corals: Video Tutorial
Conclusion
Coral dipping is not merely a task to check off your to-do list; it’s a proactive measure that contributes to the long-term success of your coral collection. By incorporating this comprehensive guide into your routine, you’re taking significant steps toward maintaining a vibrant and disease-free reef. Happy dipping, and may your underwater world continue to flourish!
Stay tuned for more in-depth insights and updates from Mad Hatter’s Reef!


